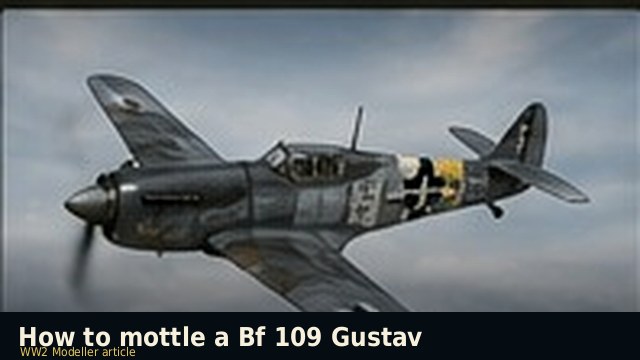
How to mottle a Bf 109 Gustav
The mottled fuselage of the Bf 109 G is one of the most characterful and most feared surface finishes in scale modelling — a fluid, organic pattern of irregular colour patches that looks deceptively simple but rewards careful approach. This is a complete step-by-step guide from base coat to final finish.
The Bf 109 G mottled scheme wasn't applied from a template. Factory paint was applied in the standard RLM 74 Graugrün / RLM 75 Grauviolett splinter pattern on the upper surfaces and RLM 76 Lichtblau on the undersurfaces. The fuselage mottling was then applied by airbrush — either at the factory or, increasingly from 1943, in the field — as a semi-random pattern of RLM 74 and 75 patches over the RLM 76 base coat on the fuselage sides.
The critical thing to understand is that no two aircraft were identical. Some had heavy, overlapping mottles; others had sparse, widely spaced patches. Some used only RLM 74; others used a mix of 74 and 75. Some aircraft had the mottles applied over a still-wet base coat, creating soft edges; others were applied over a cured coat, producing sharper definition. Your reference photograph should drive your interpretation, not a generic diagram.
Airbrush — a gravity feed with a 0.2–0.3mm needle is ideal. A 0.4mm will work but requires very precise pressure control.
Compressor with pressure regulator — essential, not optional
RLM 76 in your chosen brand for the fuselage base
RLM 74 and RLM 75 for the mottle coats
Thinners appropriate to your paint brand
Reference photograph of your specific subject aircraft — not just a generic Gustav
This is the critical stage. Take your time and work methodically — the most common mistake is applying too many mottles too quickly and producing a muddy, overcrowded surface.
The approach differs between scales. In 1:48 the mottles should be individually distinct — you can see each patch as a separate element. In 1:72 the individual patches are much smaller and the overall effect should read as a slightly granular texture rather than distinct patches. For 1:72, increase your distance from the model, reduce air pressure further and use an even more dilute mix to produce a finer, less distinct mottled texture.
Vallejo acrylics are the most forgiving for mottling because they can be corrected while still wet. If a mottle goes wrong, you can immediately spray RLM 76 over it and start again in that area. Thin with Vallejo Airbrush Thinner or Tamiya X-20A. Work at 10–12 PSI.
Tamiya acrylics thin beautifully with Tamiya X-20A and produce very fine, controlled mottles. They dry faster than Vallejo which reduces the correction window but speeds up the overall process. Work at 10–15 PSI.
Enamel-based paints are less commonly used for mottling but produce excellent results — slow drying time allows soft, wet-on-wet blending if desired. Thin with white spirit or dedicated enamel thinner. Work at 12–15 PSI. The correction window is much longer than acrylics — you can soften edges with a brush dampened with thinner even 30 minutes after application.