WW2 ModellerBuild history. Share passion. Remember.
f
World War II aircraft modelling field manual

Techniques Bank

A proper bench guide with step-by-step routes for cockpit painting, masking, mottling, weathering, decals, oils, exhaust stains and theatre-specific finishing.

Modelling technique video library

Search modelling techniques by difficulty or category. Each card includes tools, time, best aircraft examples, a specific video link and mistakes to avoid.

47 / 47 techniques

Techniques Bank — detailed bench guides

Each card is a practical mini-workflow: when to use the technique, what to prepare, how to apply it, what to avoid, and a focused video route.

Canopy masking
Easy · 20–40 mins

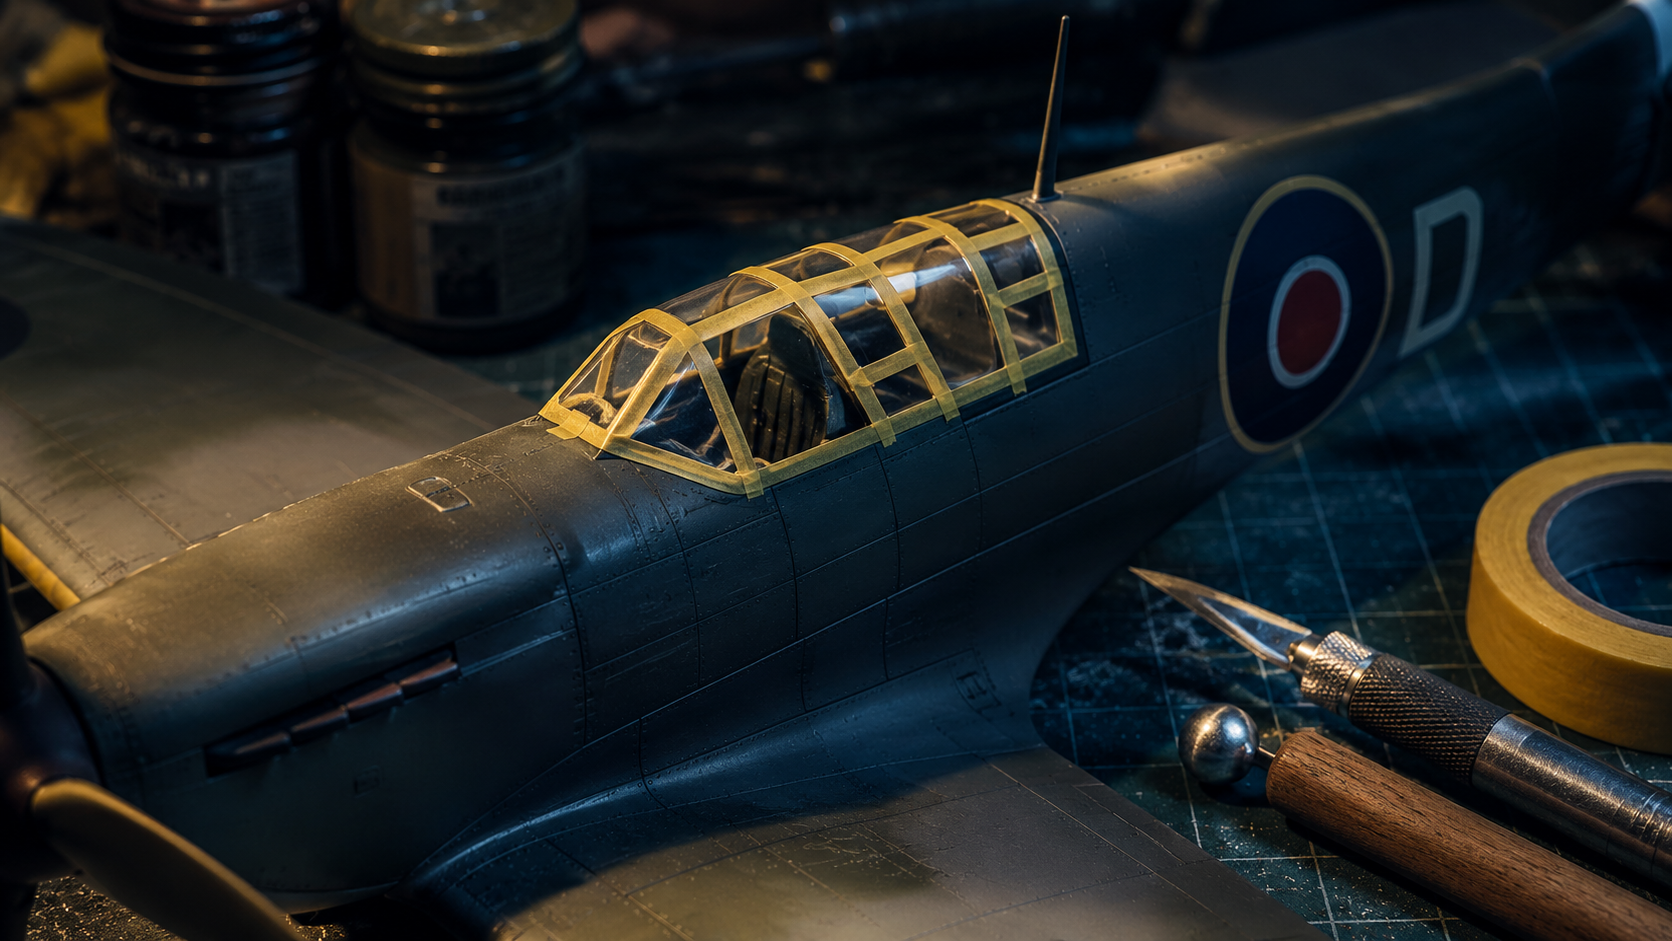
Canopy masking

Tools: Masking tape, fresh blade, cocktail stick, burnisher, tweezers.

Process: Polish and clean the clear parts first. Lay thin tape strips over each frame line, burnish the edges, then trim back to the frame with a brand-new blade. Spray the interior frame colour first, then the exterior camouflage so the framing looks correct from both sides.

Common mistake: Do not force thick tape around tight corners and do not flood paint against mask edges.

Watch technique video
Cockpit dry-brushing
Easy · 20–40 mins

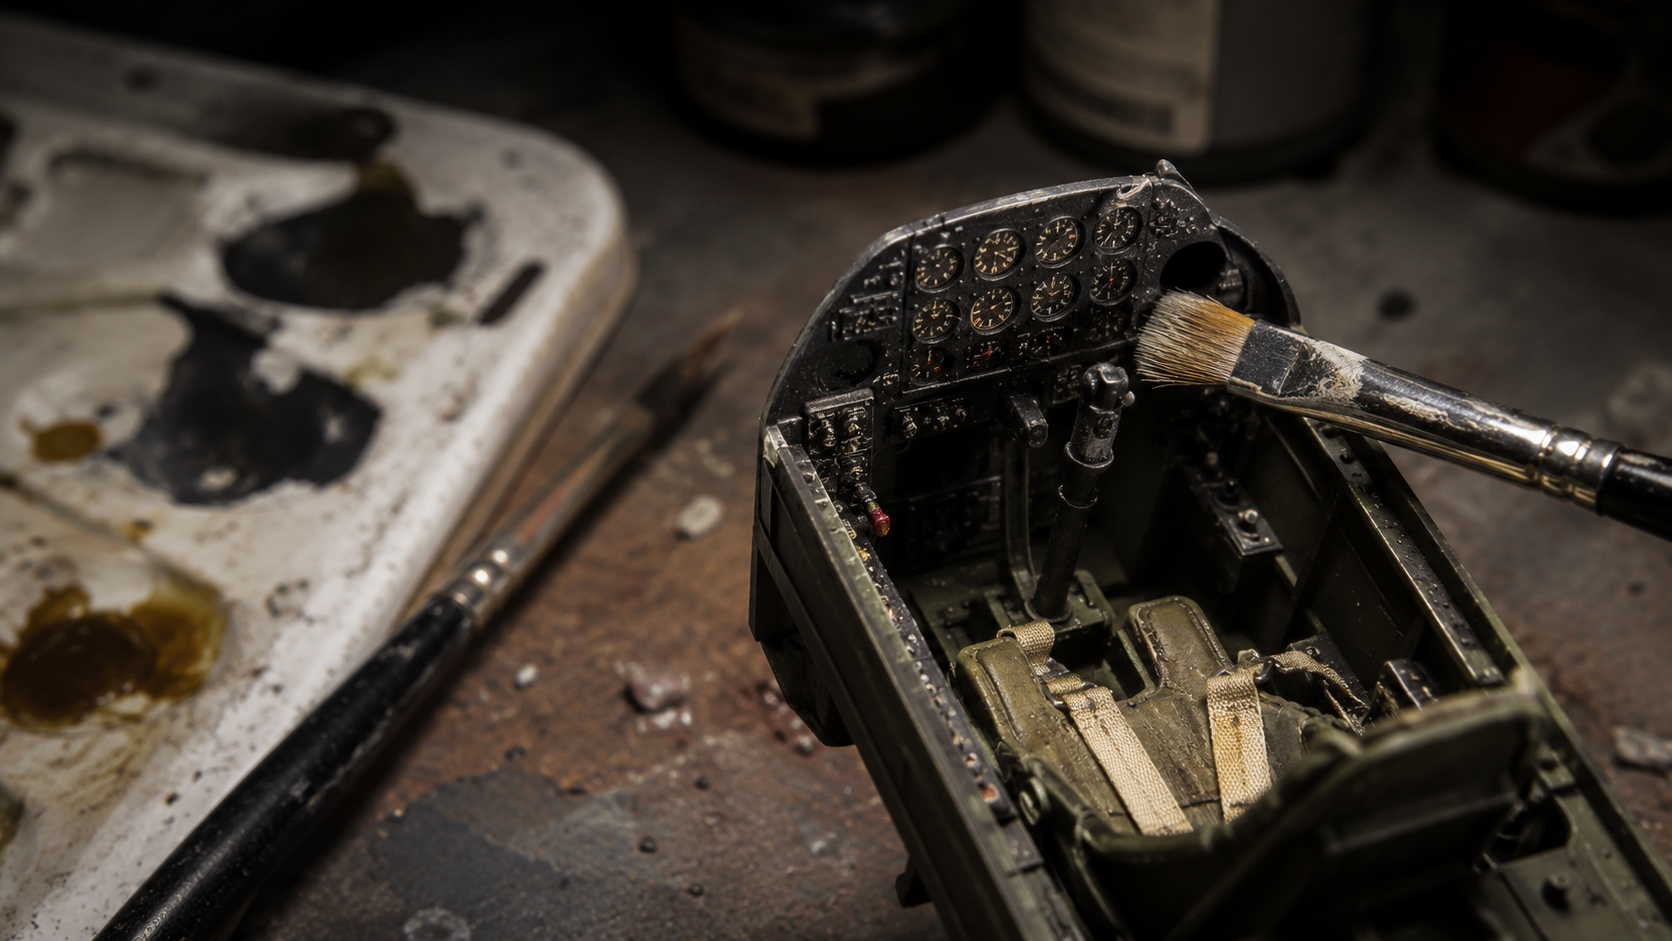
Cockpit dry-brushing

Tools: Flat brush, light grey or aluminium, dark wash, fine detail brush.

Process: Paint the cockpit base colours first and let them cure. Wipe almost all paint off the brush, then lightly drag across raised switches, bezels and edges to make detail pop. Follow with a controlled wash and pick out a few knobs and levers with a fine brush.

Common mistake: Too much paint on the brush turns dry-brushing into chalky overpainting.

Watch technique video
Panel line wash
Easy · 30 mins + cure

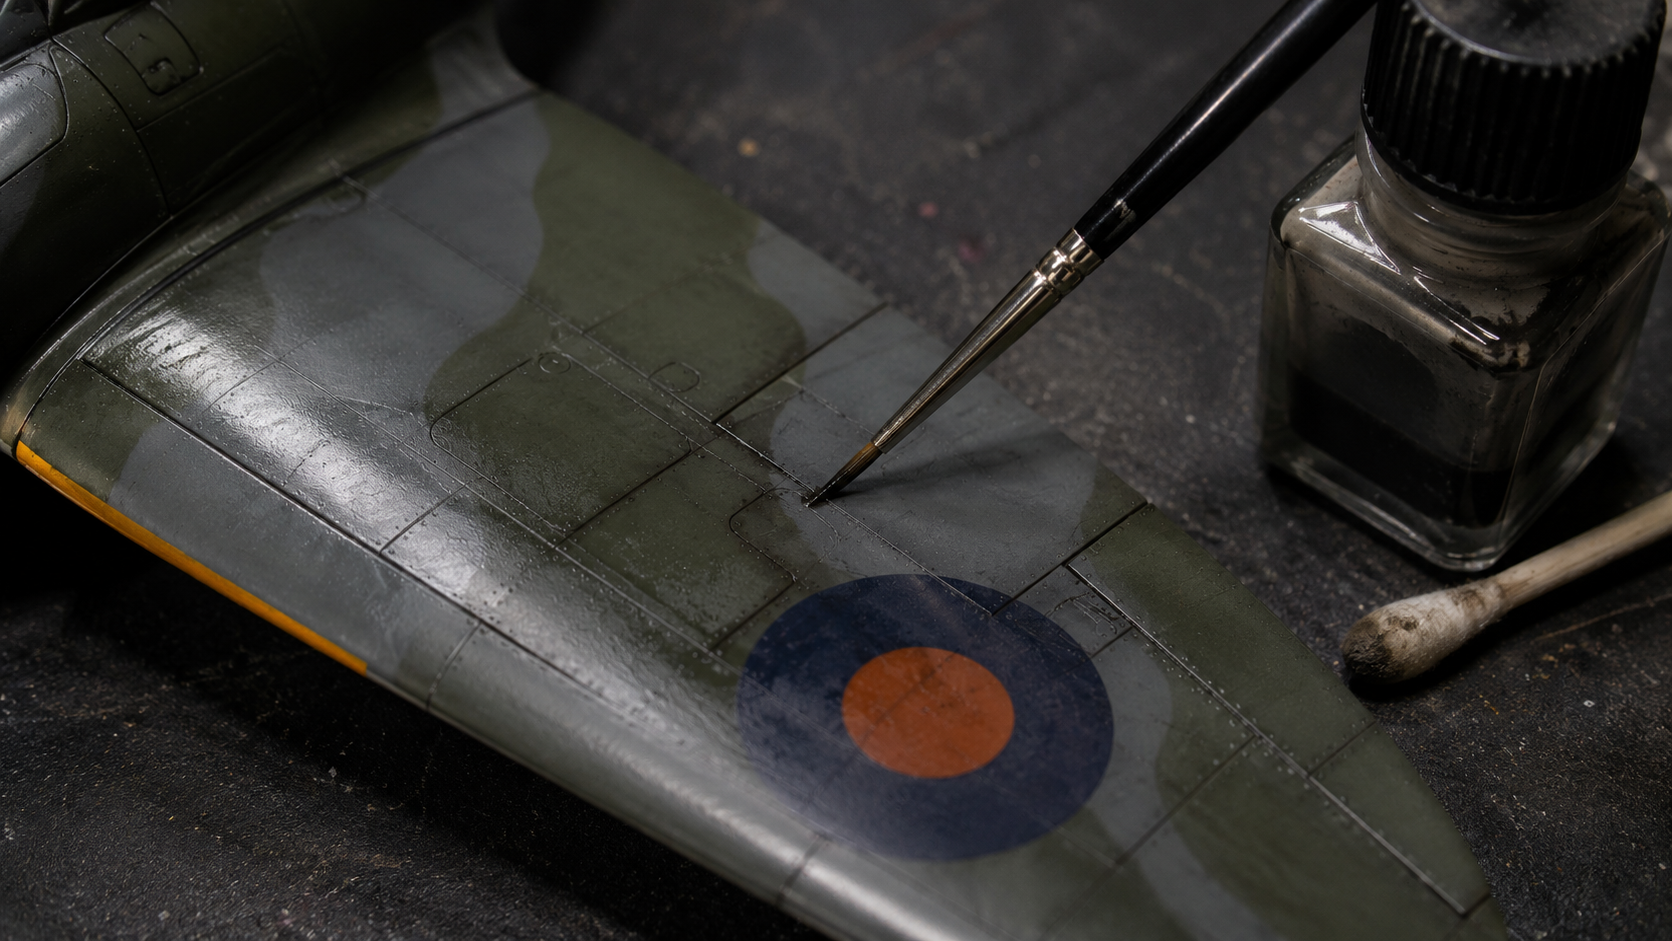
Panel line wash

Tools: Gloss coat, enamel or oil wash, fine brush, cotton buds, thinner.

Process: Apply a protective gloss coat so the wash can flow cleanly. Touch the wash into recessed lines and let capillary action pull it through the detail. Clean excess with a slightly damp cotton bud moving in the airflow direction to keep the effect subtle.

Common mistake: Applying a hot thinner directly onto unprotected acrylic paint can mark the finish.

Watch technique video
Oil dot filtering
Medium · 45–90 mins

Oil dot filtering

Tools: Artist oils, flat soft brush, odourless thinner, palette.

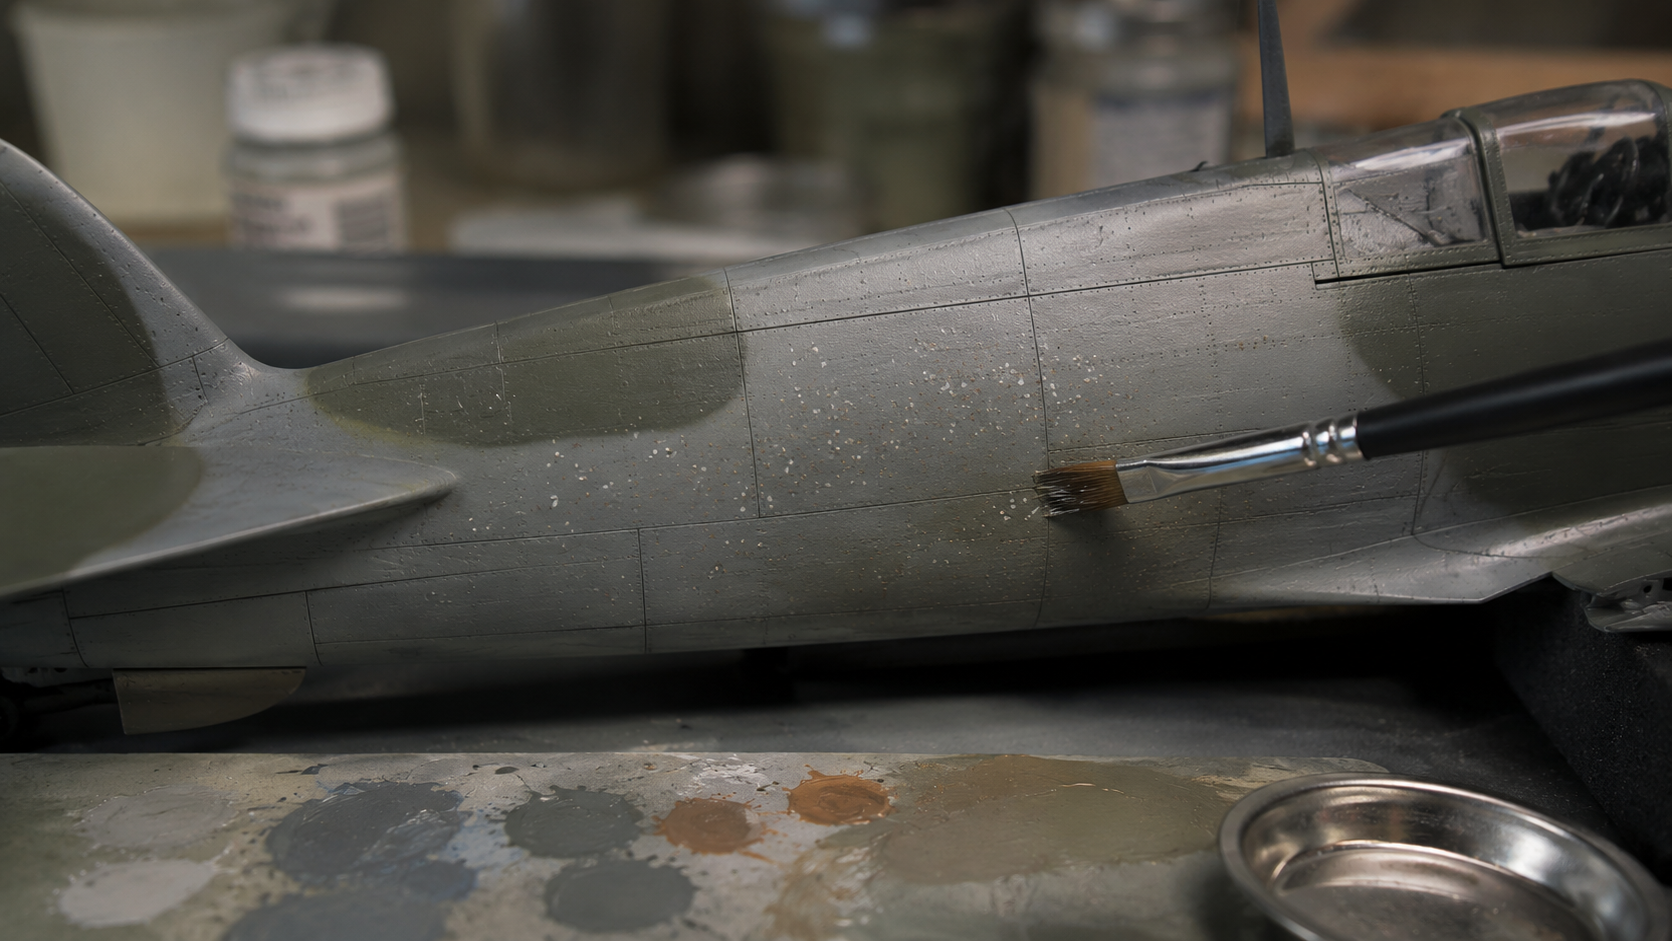
Process: Place tiny dots of white, ochre, grey and brown over large painted panels. Dampen a flat brush and blend in the direction of airflow until the dots disappear into subtle tonal modulation. Use it to break up monotone camouflage rather than to create heavy streaking everywhere.

Common mistake: Oversized oil dots or too much thinner can turn the whole surface muddy.

Watch technique video
Luftwaffe mottling
Advanced · 60–120 mins

Luftwaffe mottling

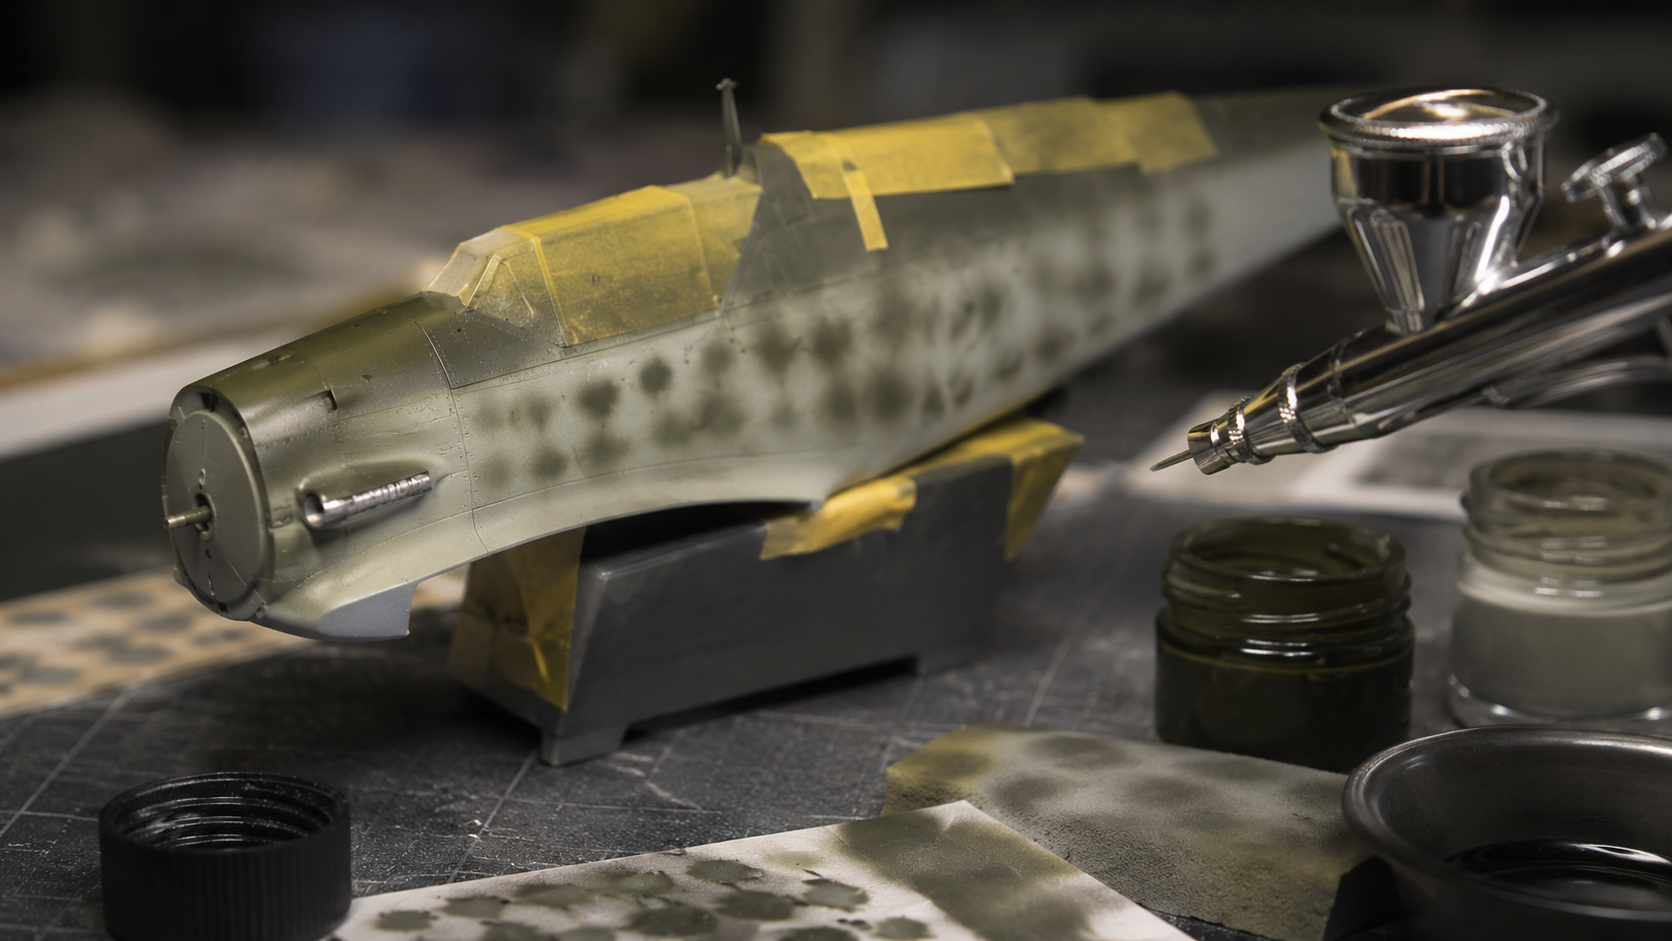
Tools: Airbrush, heavily thinned paint, low pressure setup, scrap card.

Process: Thin the paint well and drop the air pressure so the brush sprays tight, soft spots. Practise the pattern on scrap first, then build irregular mottles in several light passes around the fuselage sides. Blend any harsh spots with a light mist of the base colour.

Common mistake: Uniform dots of the same size look artificial; real mottling is varied and uneven.

Watch technique video
Sponge chipping
Medium · 20–45 mins

Sponge chipping

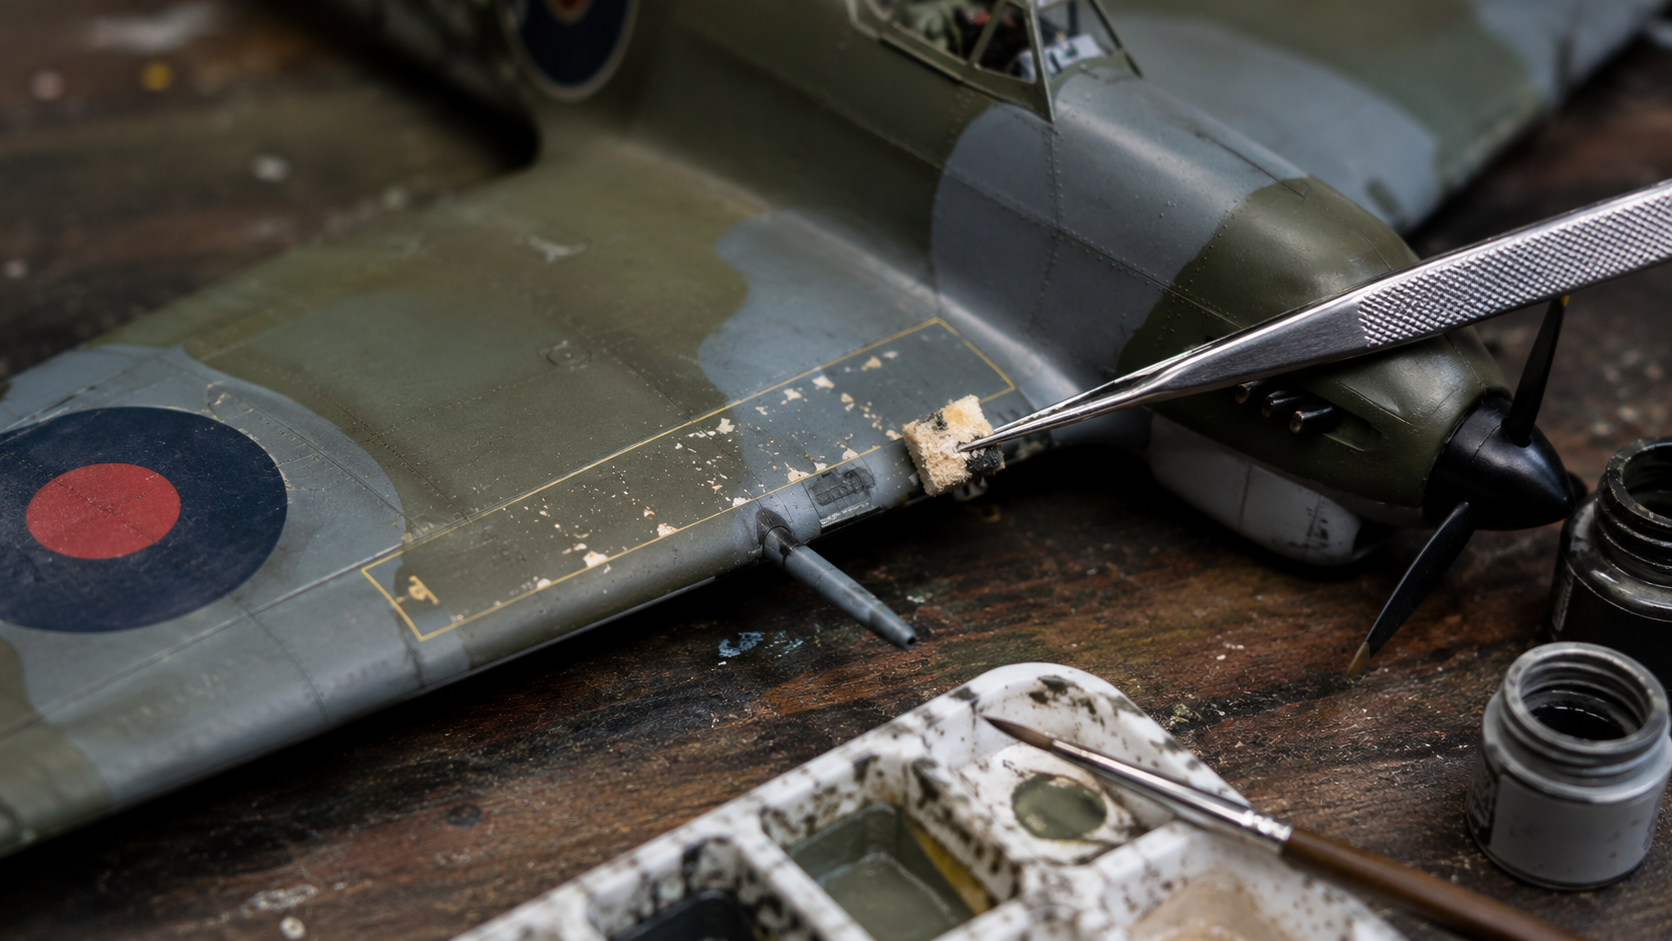
Tools: Small torn sponge, tweezers, dark brown/grey paint, tissue.

Process: Load a tiny amount of paint onto the sponge and dab almost all of it off onto tissue first. Tap gently onto high-wear areas such as wing roots, walkways, cowl panels and access hatches. Add a few brush-painted chips after the sponge work to break up the pattern.

Common mistake: Random all-over chipping makes aircraft look toy-like; keep it to real wear zones.

Watch technique video
Exhaust staining
Medium · 20–45 mins

Exhaust staining

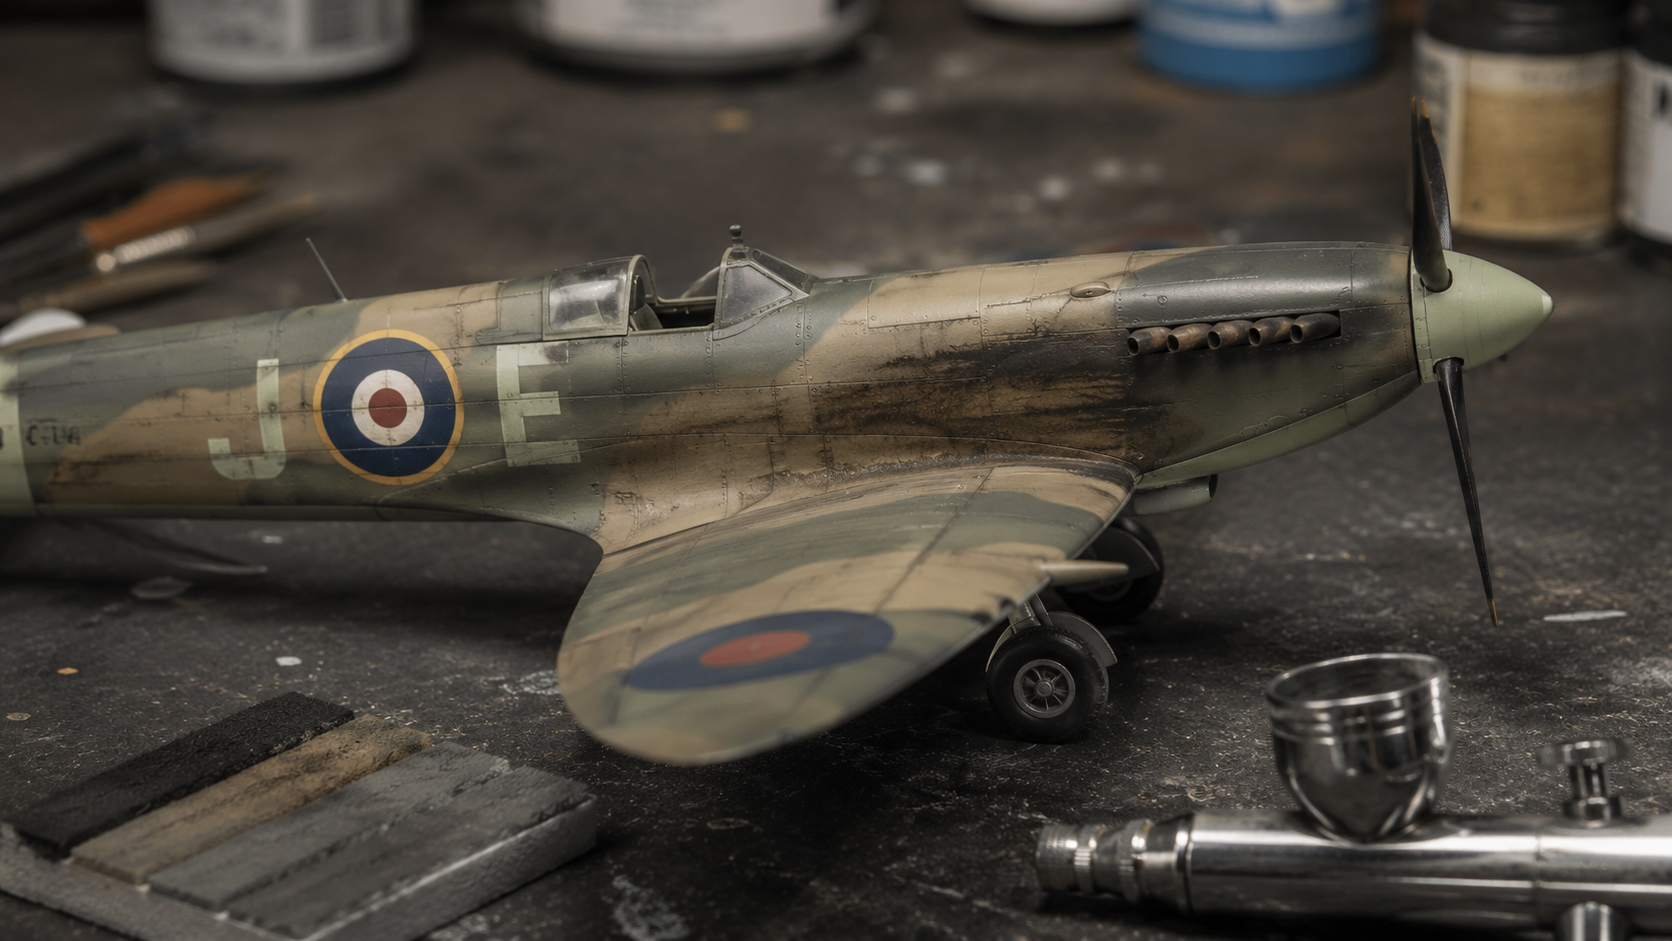
Tools: Airbrush or pastel chalks, dark brown, grey and black tones, references.

Process: Begin with a soft grey-brown stain and slowly deepen the centre with darker tones. Build the stain backwards from the exhausts in thin translucent passes, always matching the airflow and wing root geometry. Add a final dark core only where the reference photo shows a denser deposit.

Common mistake: Jet-black stains sprayed too hard or too wide overpower the model very quickly.

Watch technique video
Decal silvering fixes
Medium · 20 mins + drying

Decal silvering fixes

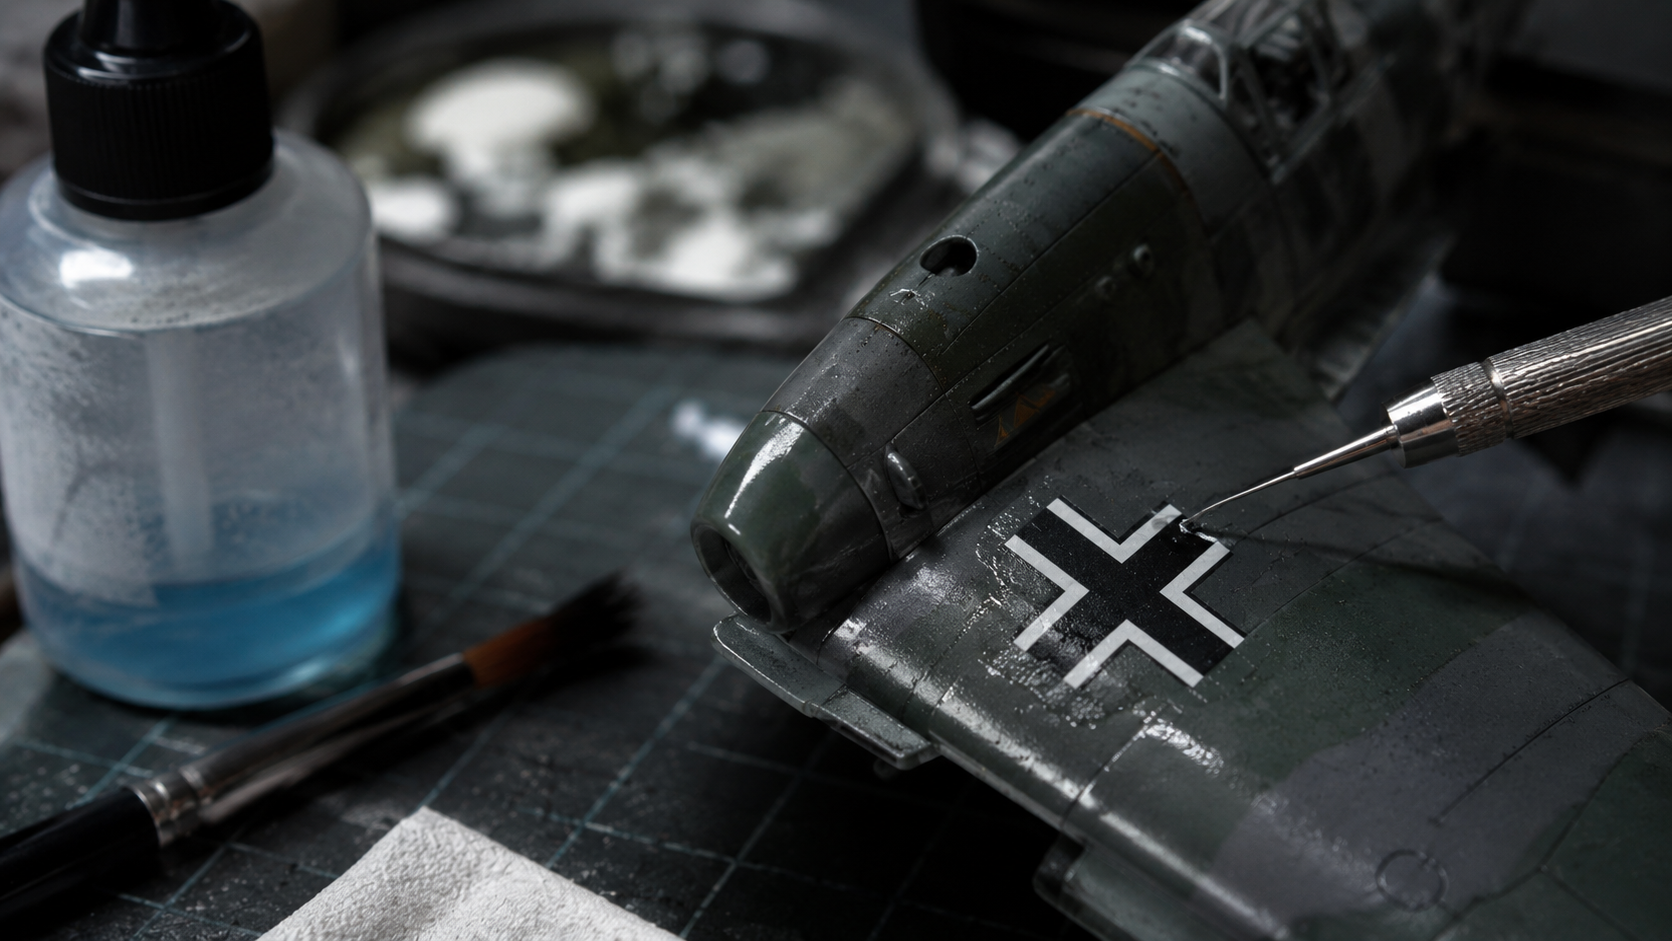
Tools: Needle, decal softener, gloss coat, soft brush, cotton bud.

Process: If a decal has trapped air underneath, prick the silvered area with a very fine needle. Flood a little decal softener into the holes and press the decal down gently with a damp cotton bud so it can settle back into the surface. Seal it with another clear coat once fully dry.

Common mistake: Heavy pressure while the decal is soft can tear or drag the marking out of position.

Watch technique video
Natural metal finish
Advanced · Several sessions

Natural metal finish

Tools: Smooth primer, metallic paint or foil, masking tape, polishing cloth.

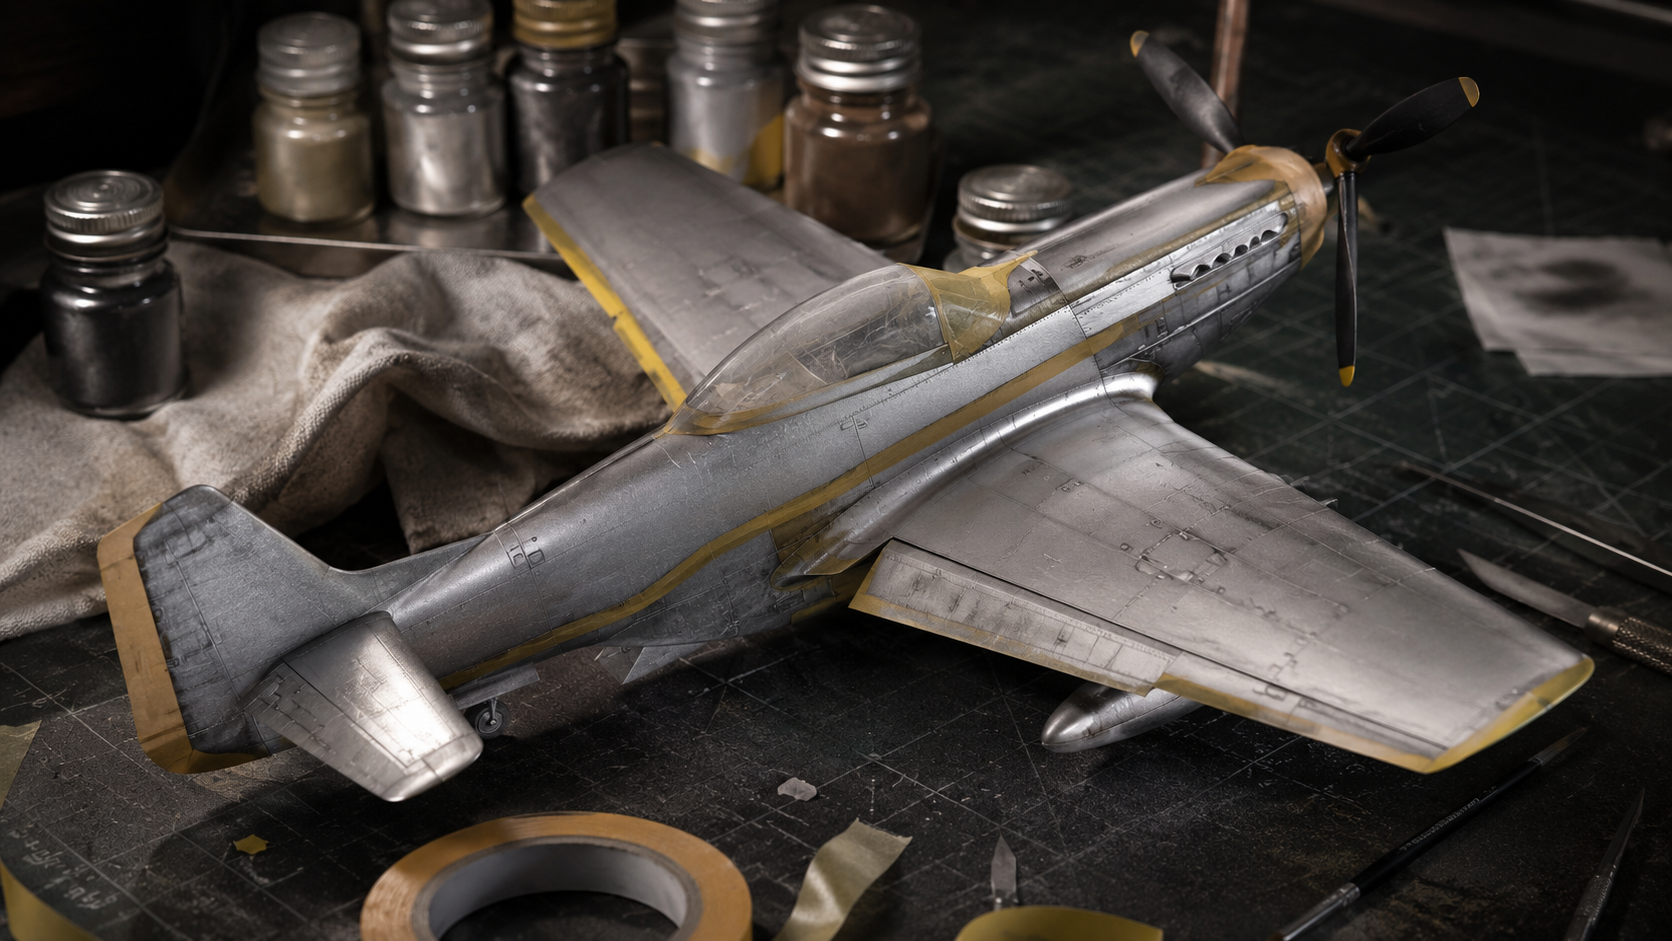
Process: Surface preparation is everything: remove scratches, prime, inspect, then polish before metallic paint goes down. Break up the finish by masking individual panels and spraying slightly different shades of aluminium, steel or duralumin. Keep handling to a minimum and protect the finish before major masking.

Common mistake: Scratches and sanding marks that are invisible in primer will shout through metallic paint.

Watch technique video
Winter whitewash
Medium · 45–90 mins

Winter whitewash

Tools: White acrylic, chipping medium or hairspray, stiff brush, sponge.

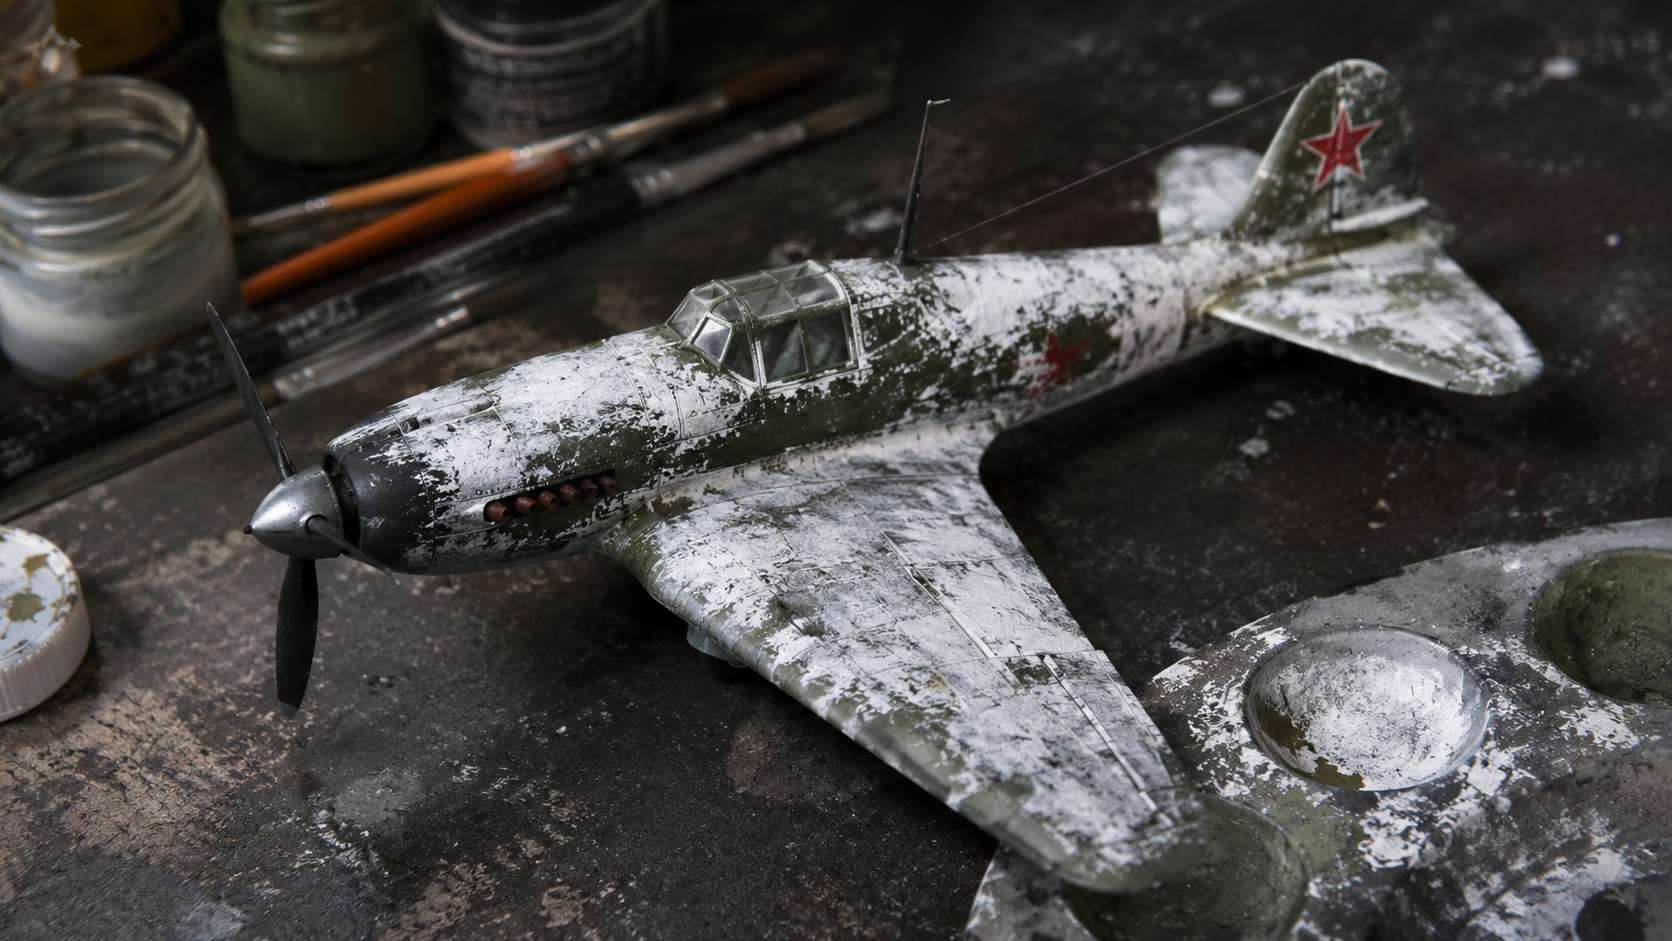
Process: Lay down the normal camouflage first and protect it, then apply a chipping medium and a thin temporary white coat. Reactivate and wear the white back with a damp stiff brush around walkways, cowl fasteners, maintenance panels and crew access points. Vary the opacity so it looks field-applied rather than factory perfect.

Common mistake: A solid opaque white layer looks painted-on rather than worn seasonal distemper.

Watch technique video

Full build order

1

Preparation

Wash parts, dry-fit major joints, sand seams, mask clear parts and prime.

2

Interior

Paint cockpit, belts, panel and wheel wells before closing the fuselage.

3

Main paint

Spray underside, upper camouflage and theatre markings in thin layers.

4

Decals

Gloss coat, apply decals, use setting solution and seal again.

5

Weathering

Work from subtle to heavy: wash, filters, exhaust, dust, chips and oil streaks.

6

Final finish

Choose satin/matte/gloss, attach fragile parts, photograph and note the route for next time.