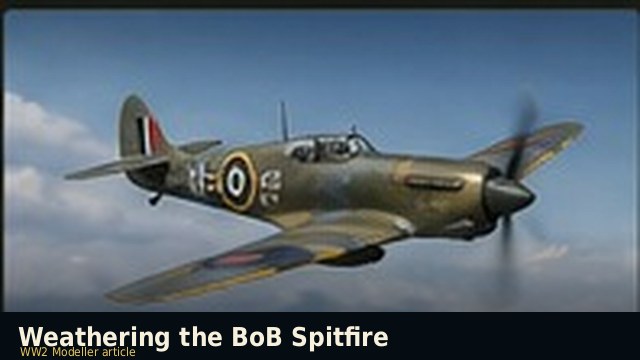
Weathering the BoB Spitfire — station by station
A Battle of Britain Spitfire was not a pristine display piece. After weeks of intensive operations — multiple sorties per day, rapid turnarounds, field maintenance — the aircraft showed real wear. Getting this right means understanding which specific marks appeared where, and how the soil at each airfield looked on the undersurfaces. This guide works through the key weathering features step by step.
All BoB Spitfires showed exhaust staining on the port upper cowling. The Merlin's individual ejector stacks discharged upward and rearward, leaving a 6–10 inch brown-black streak on the starboard-facing surface of the port cowling. Use brown-black oils (Lamp Black mixed with Raw Umber, roughly 70:30) streaked rearward with a fan brush dampened with Odourless Thinner. Build up in thin passes — the real staining was not uniform, fading toward the rear.
All BoB Spitfires had eight Browning .303 machine guns — four per wing. Each gun port was sealed with yellow-doped fabric tape before flight; after firing, the spent case and blast scoring was visible behind each of the eight ports. Model this with carbon black airbrushed or dry-brushed rearward from each port. The tape itself (if unspent) was a warm buff-yellow — Humbrol 74 or Tamiya XF-3 lightened with XF-2.
Every Spitfire had a painted walkway strip on the port wing root — a hatched area where ground crew stepped to access the cockpit. After operations this showed significant chipping and wear through to bare metal. Model with a silver pencil or Humbrol 56 applied with a fine brush in irregular chips. The wear was heaviest near the cockpit entry point and lessened toward the leading edge.
The cockpit sill — the area that the pilot grabbed and stepped on to enter — showed heavy chipping and paint wear. Dark Earth (if upper-surface colour reached here) or Interior Grey-Green below the sill line. Apply chipping with a sponge fragment for irregular edges.
Spitfire wing leading edges wore through to bare aluminium from rain and insect impact during operational flying. A light dry-brush or silver pencil along the very tip of the leading edge — heaviest outboard — replicates this accurately. Do not overdo it: BoB Spitfires were in service weeks, not years.
Pale tan-yellow. The alluvial soil of the Thames Estuary was lighter than the London clay of inland stations. Mix: Tamiya XF-57 + XF-60 (2:1) + trace XF-2. Apply with a stiff brush to the undercarriage, wheel bays and lower fuselage sides.
Pale buff-grey. Chalk subsoil means pale, almost white dust rather than clay mud. Mix: Tamiya XF-57 + XF-2 (1:1) + trace XF-64. This is noticeably lighter than Hornchurch — the ground at Biggin in dry summer conditions left a pale grey-white film on the undersurfaces.
Dark rich brown. The heavy Sussex clay gives a much darker, redder-brown contamination than the chalk stations. Mix: Tamiya XF-64 + XF-52 (1:1). 602 Sqn Spitfires would have shown this distinctly on their undercarriages.
Almost white. The palest mud of any BoB station — chalk downland drains rapidly and leaves a very fine, white-grey dust rather than wet mud. Mix: Tamiya XF-2 + trace XF-57 (10:1). Apply dry, not wet — this was primarily dust contamination.
Pale grey-buff. Similar to chalk but slightly darker and more grey in tone. Mix: Tamiya XF-2 + XF-57 (8:1). Minimal mud — limestone also drains quickly.
Dark brown. Heavy clay gives thick, dark contamination on undercarriages. Mix: Tamiya XF-64 + XF-52 (2:1). 19 and 66 Sqn aircraft would show this distinctly.
For the full paint colour reference and interactive airfield map, see the Spitfire reference page .